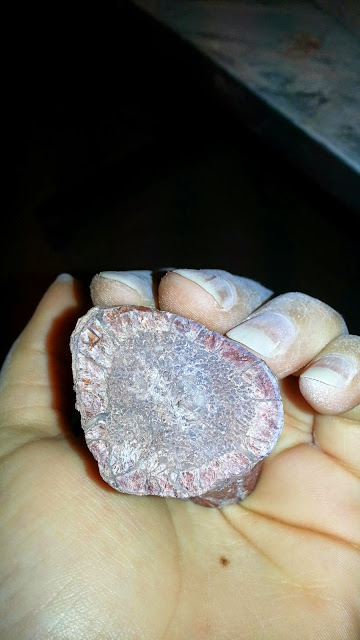
Last week I spent 2 1/2 hours in the lab. This was the day I finally got to use the air abrasion unit. Needless to say the unit proved to be much more complicated than I would have expected it to be and I ended up spending quite a bit of time with another volunteer messing around with it. This tinkering actually proved to be very fruitful, being that we both now know more about the unit than we expected to. The unit is basically like a mini sandblaster. I learned for the 'sand' component we use baking soda because it won't build up in your lungs like other 'sand' materials will. This is very important because our unit isn't super well ventilated, but that isn't a problem with the baking soda. We ended up having to add more baking soda and then thought it was clogging the tubing; so we learned the inner working of the area that holds the baking soda and the tubing. This part wasn't too confusing but we were a little confused on what each part did until we tried it while it was completely empty. Once we knew what each part did we knew the baking soda wasn't clogging it, and we actually found out that it loses pressure as it's used. This means that you have to pump your foot on the pedal so that you keep a pretty consistent pressure that will actually do something. I found that it definitely does do a good job of finishing touch cleaning on the bones. This means that they can't have much caliche on them when you're using air abrasion. So I discovered that my plan of action will be to clean everything off of the Jane bones pretty well with the air scribe and then move to the air abrasion unit. All in all I think this will be a useful tool, that I now have in my tool belt, and I'm glad I got to use it. Check out before and after air abrasion cleaning pictures below.


No comments:
Post a Comment