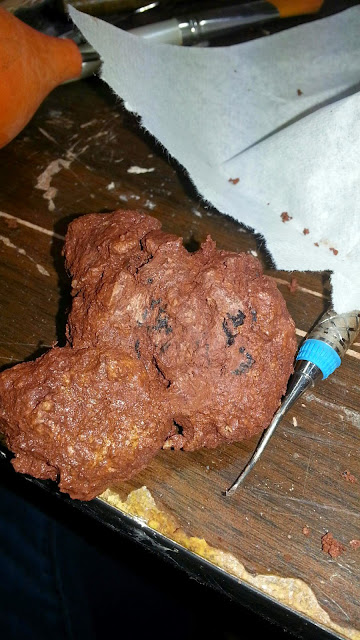
On Day 1 I was in the lab for 2 hours. All my time was spent using the air scribe to remove small amounts of caliche covering part of a limb bone. I think so far the air scribe has to be my favorite lab or field tool that I've used. Even though I have to be super careful and use magnification so that I don't touch the bone there's something satisfying about seeing small bits of caliche chip away to reveal clean, smooth, beautiful bone. You can see the process on a small part of the bone by looking at pictures 1-3. Picture 1 has a small bit of cleaning done in the top left corner, picture 2 shows this closer up, and picture 3 has all the cleaning completed. I followed this up by working on some more of the little bits of bone that were almost exposed. You can see the line between brown and white on the pictures that shows this. I really want to try the air abrasion unit, which is like the air scribe but not as strong, because I think that would make cleaning off this really thin layer much easier.
On Day 2 I was in the lab for 2.5 hours. This day I went through the cleaning process with almost all the stray Jane bones that were left. First I removed the big clumps on dirt with a dental pick. Then I bathed them in vinegar and scrubed them with a toothbrush. Next I did the same thing but with water. After that I removed much of the remaining dirt with a dental pick. As you can see in the pictures the caliche on the bones actually goes from being stained red to a grayish color. This is another satisfying sight to me after I've cleaned a bone, because it feels like I've really made progress, and progress isn't usually something that comes quickly in Paleontology.


No comments:
Post a Comment